

Playing with getPixel
Talking about Actionscript 2 and Flash.
Today I played a bit with getPixel function and I want to share with you some considerations about it.
First, you have to know getPixel(x,y) returns an integer that represents an RGB pixel value from a BitmapData object at a specific point (x, y).
Then, I wanted to know the percentage of a color in an image, maybe to manage level filling in a game like ColorFill (when using complex shapes to fill the level) or maybe to analyze the percentage of a color in a photo.
So I made this picture
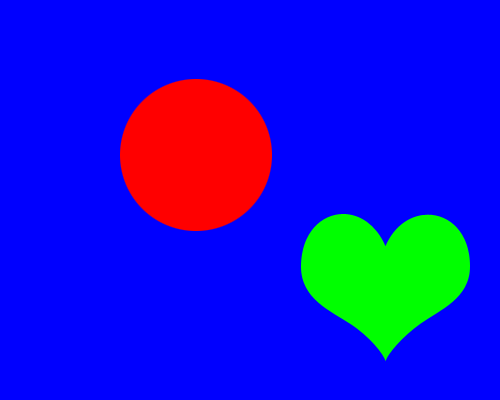
and I linked it as bg.
Then I wrote this little actionscript
import flash.display.BitmapData;
var bitmap_bg:BitmapData = BitmapData.loadBitmap("bg");
_root.createEmptyMovieClip("background_image",_root.getNextHighestDepth());
background_image.attachBitmap(bitmap_bg,_root.getNextHighestDepth());
precision = 1;
r = 0;
g = 0;
b = 0;
other = 0;
total = 0;
for (x=0; x<500; x += precision) {
	for (y=0; y<400; y += precision) {
		switch (bitmap_bg.getPixel(x, y).toString(16)) {
			case "ff" :
				b++;
				break;
			case "ff00" :
				g++;
				break;
			case "ff0000" :
				r++;
				break;
			default :
				other++;
		}
		total++;
	}
}
r = r/total*100;
g = g/total*100;
b = b/total*100;
other = other/total*100;
trace("Red: "+r+"%\nGreen:"+g+"%\nBlue: "+b+"%\nOhter: "+other+"%");
It's a very easy one:
Line 1: importing BitmapData library
Line 2: declaring a BitmapData variable called bitmap_bg containing the image linked as bg
Line 3: creating an empty movie clip where I will attach the bitmap image loaded at line 2
Line 4: attaching the bitmap, as said at line 3
Line 5: Setting a variable called precision. This is the core of the script. precision indicates the gap in pixels from the last examined pixel and the next pixel I am going to examine. The smaller precision value, the more accurate the percentage, the slower the script.
Lines 6-10: Initializing variables counting the amount of red, green and blue pixels found, and the total of pixels examined. I also count the pixels of other colors. Even if you only see a blue background, a red circle and a green heart, there are other colors due to antialiasing.
Lines 11-28: Scanning all pixels with the precision gap between one pixel and another, and incrementing the color variable according to the color found at line 13.
Lines 29-33: Formatting and showing the results
Look how results change when I play with precision
Precision: 1
Red: 8.91%
Green:7.9145%
Blue: 82.5735%
Ohter: 0.602%
Precision: 2
Red: 8.91%
Green:7.916%
Blue: 82.578%
Ohter: 0.596%
Precision: 5
Red: 8.9125%
Green:7.8625%
Blue: 82.55%
Ohter: 0.675%
Precision: 10
Red: 8.8%
Green:7.95%
Blue: 82.7%
Ohter: 0.55%
Precision: 20
Red: 8.8%
Green:8%
Blue: 82.6%
Ohter: 0.6%
As you can see, you don't need a low (and cpu expensive) precision value to obtain realistic results.
Download the source, maybe changing the image, and tell me what do you think about. Any idea for a game?
Never miss an update! Subscribe, and I will bother you by email only when a new game or full source code comes out.